What are Containers?
Docker containers are lightweight packages that include a minimal operating system (much like a virtual machine) and any associated software that has a specific purpose. Typical containers include API Servers, Frontend (web) Servers, Databases, Cache Servers, Logging Servers, etc. These containers can be packaged up, stored in a repository, and deployed to a hosting environment where they get exposed to the internet or internal networks. Typically we start with a base image (node.js, etc), add all of our code and resources (images, css, etc), and put that into a repository. That image can then be loaded onto whichever environment we desire.
Why Do We Care?
One of the most important advantages of containerization is repeatability. Here are some prime examples that illustrate the utility of containers in maintaining repeatability across environments and situations:
- We have a Test Server and a Production Server set up to host our node.js application. We copy our code onto the Test Server, test it, and decide that it’s working properly. We take that same code then upload it to the Production Server and it explodes in a spectacular and unforeseen fashion. Why? The Test and Production Servers use slightly different versions of node.js.
- Same situation as #1. We’ve updated Production to use the same version of node.js, yet the Production Environment still fails using the same code that works on the Test Server. This time, this is due to a difference in the way the Operating System handles file permissions (ex: ubuntu vs redhat linux)
- We go through the trouble of perfectly aligning our Test and Production server and now it’s time to scale out. Now we have the same problem, but at a much higher scale. We now have to ensure that all of our Production Servers are updated to use the same OS, OS version, and node.js version.
You can see why this becomes exponentially more difficult as we scale out and/or add different environments. In a container, our code is packaged along with its server AND the underlying OS into a lightweight package that we can then put wherever we want. If it works in the Test Environment we can be much more confident that it will work in Production. Problem solved.
Containerization Tools
Now that we have a baseline understanding of containers and why we would wish to utilize them, let’s look at a couple of the most commonly used containerization tools. Below we’ll walk through the aspects of Docker and Kubernetes with a brief example of how they’re used in practice
Docker
One of the most commonly used containerization tools is Docker. Docker lets us run “containers” – self-contained, portable mini-copies of an operating system and associated software – much like virtual machines. Docker containers can be downloaded from a repository and started quickly with a simple command. Some examples of common software run on containers include:
- Databases (mysql, postgresql, mongo)
- Cache Servers (memcache, redis)
- Web Applications (Angular, React, etc)
Docker is widely used with both an open source and proprietary version. There are various other options available should they be of interest, however quite often the network and support avenues for Docker make it the preferred choice.
Kubernetes
Now that we have our application put into containers, what can we do with them? Today’s applications are complicated and involve many containers (Frontend, Backend, Databases, etc.) all from different teams working together. We have to have a way to ‘orchestrate’ these containers and define relationships between them. Say we have an application that is composed of a frontend Angular application hosted by nginx, a backend application hosted in node.js, and an additional API server required by the backend server. We have all of these containerized and now we need to make them work together.
Kubernetes (often abbreviated as k8s) is a container orchestration framework. This means that it stands at a layer above Docker, and coordinates the activity of different containers, allowing them to talk to each other and access the outside world. Kubernetes runs on a few basic concepts:
- Nodes – Nodes represent the physical layer of Kubernetes. They are the actual hardware that containers run on. They can themselves be virtual machines in a cloud environment (like EC2 in AWS) or a container service like Fargate on AWS
- Pods – A Pod represents one or more containers that can run on a Node. Many Pods can run on a Node. A Pod defines shared storage and networking for these containers and represents the basic deployable unit in Kubernetes
- Deployment – A Deployment represents a set of Pods that scale out. A Deployment contains a set of identical Pods
- DaemonSet – A DaemonSet is a Pod that runs on every Node. These are great for cross-cutting concerns like logging and monitoring.
- Services – A Service in Kubernetes represents a logical unit of access to a load-balanced resource. Typically this is a Deployment or DaemonSet.
- Ingress – Internet-facing applications use Ingresses to allow access from the internet into an application. Depending on where it’s running (AWS, Azure, Datacenter), the Ingress will have different implementations (AWS ALB, Azure Load Balancer, or Nginx)
Why use Docker and Kubernetes?
Docker and Kubernetes are used widely in a number of different applications and environments. The technology has been hardened over the years and has a robust community of support. Below we detail some specific advantages to their use:
- Easily Manageable Images – Docker registries make for easy storage of built containers. Containers can be rolled back to specific versions in the event of a bad deployment
- Scalability – Deployment instances can be easily scaled up with Kubernetes managing the load balancing of the Pods
- Portability – Docker containers and Kubernetes implementations are consistent across many different cloud providers and setups from AWS to Azure to Google and even Local Data Centers
- Application Architecture – Larger applications can be split up into smaller Docker containers allowing organizations to adopt a microservices-oriented approach to application Development and Deployment
- Predictability – Docker containers that run in a Test Environment run exactly the same way in Production
An Example
As an example app we’re using “Chili Friends”, an application that matches people together based on their chili sauce preferences. This is a Ruby-on-Rails (RoR) application available here.
This application runs on RoR using a SQL database (postgresql). To function properly we’ll have to set up an Ingress for internet users to connect. For Chili Friends we’ll set up the following:
- A Deployment for our RoR application using our dockerized application
- A Deployment for our postgresql database
- A Service that allows load-balanced access to our RoR deployment
- An Ingress that can bridge access from the internet into our service
We’re going to deploy this application on AWS’s Kubernetes service, the Elastic Kubernetes Service (ECS). We’ll start with the docker file:
The App
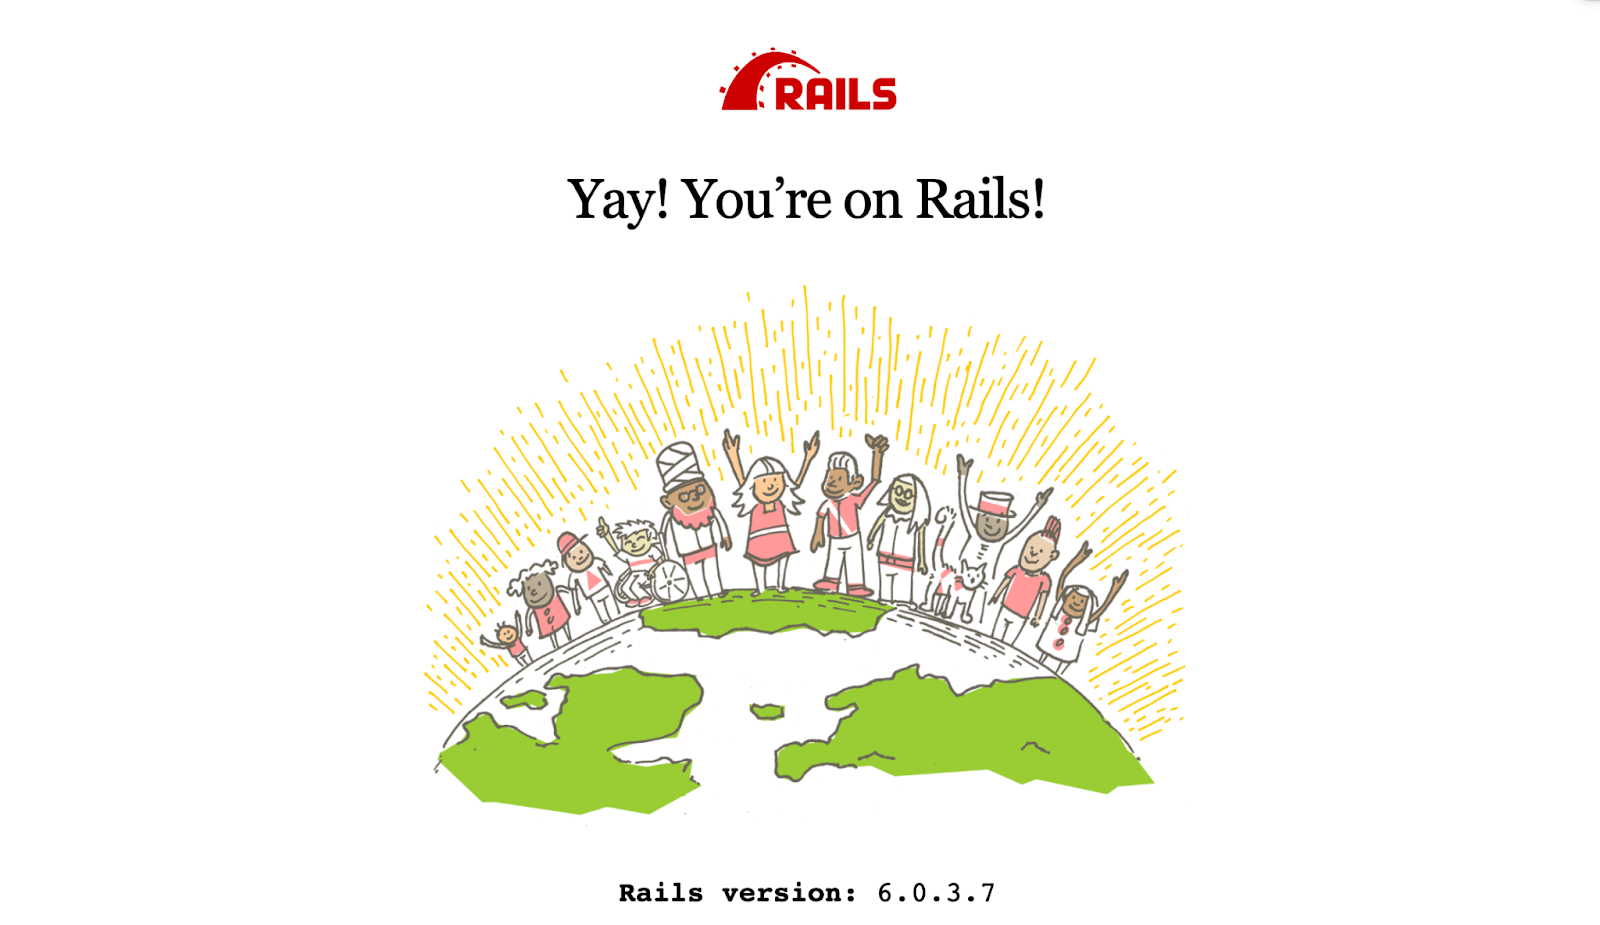
To get started, the demo application we’re using was created with ruby’s basic scaffolding to create sign in, sign up, and sign out functionality, as well as the default welcome screen to make sure the app is up and running.
From my local computer, I can start the local dev server using rails server and am presented with this screen:
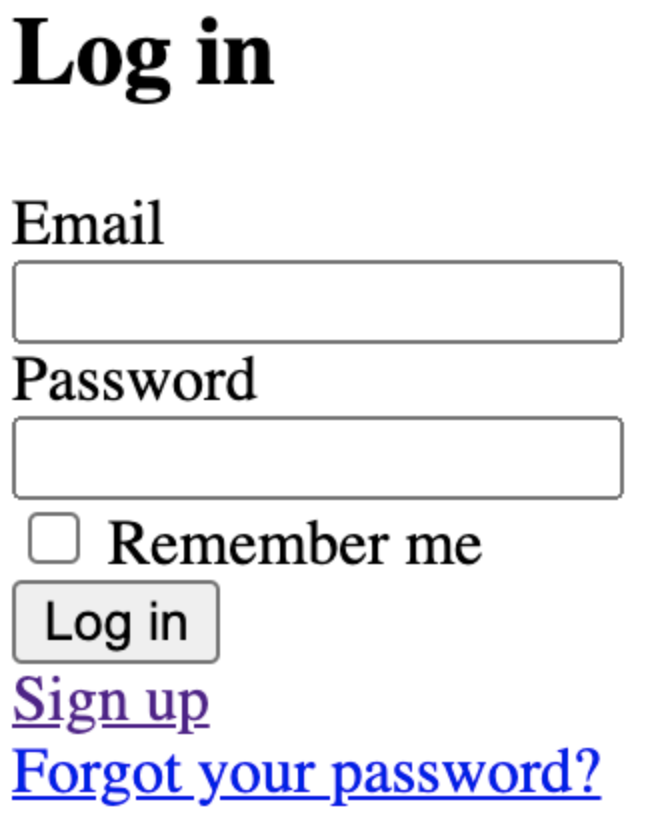
To test the database, I’m going to sign in here.

Once I do, I’m redirected to the default welcome page. Now that I know it works on my local machine, I’ll create a docker image using this Dockerfile:
FROM ruby:2.6.6-alpine

ENV BUNDLER_VERSION=2.2.17

ENV PYTHONUNBUFFERED=1
RUN apk add --update --no-cache curl py-pip
RUN python3 -m ensurepip
RUN pip3 install --no-cache --upgrade pip setuptools


RUN apk add --update --no-cache \
binutils-gold \
build-base \
curl \
file \
g++ \
gcc \
git \
less \
libstdc++ \
libffi-dev \
libc-dev \
linux-headers \
libxml2-dev \
libxslt-dev \
libgcrypt-dev \
make \
netcat-openbsd \
nodejs \
openssl \
pkgconfig \
postgresql-dev \
sqlite-dev \
tzdata \
yarn

RUN gem install bundler -v 2.2.17

WORKDIR /app

COPY Gemfile Gemfile.lock ./

RUN bundle config build.nokogiri --use-system-libraries

RUN bundle check || bundle install

COPY package.json yarn.lock ./

RUN yarn install --check-files

COPY . ./

ENTRYPOINT ["./entrypoints/docker-entrypoint.sh"]
Some explanation about what these commands do:
FROM ruby:2.6.6-alpine
This means we’ll build our docker image on top of an existing one. In this case, we’re using a stripped down version of linux (alpine linux) with ruby version 2.6.6 installed. This keeps everything lightweight.
For subsequent commands this is as if you were installing the app on a fresh machine. We’re installing some Compiler Utilities, Database Libraries, and the like. The ‘ENV’ command creates environmental variables and the ‘RUN’ command executes shell instructions as if we were to ssh into a machine or sit at a terminal. We use ‘COPY’ to move files from our local machine to the docker image when building and ‘WORKDIR’ to set the directory inside the image when we copy files and execute commands.
Now that that’s set up, let’s look at some of the Kubernetes configurations:
Deployment
apiVersion: apps/v1
kind: Deployment
metadata:
name: chili-friends-deployment
labels:
app: chili-friends
spec:
replicas: 3
selector:
matchLabels:
app: chili-friends
template:
metadata:
labels:
app: chili-friends
spec:
containers:
- name: nginx
image: chili-friends:1.0
ports:
- containerPort: 3000
This yaml file configures our deployment in Kubernetes. In a Kubernetes cluster with many applications going, we use the ‘label’ feature to define different areas that work together (in our case chili-friends). Some of the important parts of this are:
- Replicas: 3
- This means that we’ll load-balance across 3 containers. By increasing this number we can scale up the application.
- Spec: Containers:
- This defines which containers we want to use. In our case, we’ve uploaded our container to <<Docker Hub>>, and defined the image here
- Ports: ContainerPort:
- Here we say that we’re exposing port 3000 on the container to the cluster. Note that this is different from exposing a port inside the container to one outside the container. For our sanity, we’ll always use port 3000
Now let’s configure the service:
apiVersion: v1
kind: Service
metadata:
name: chili-friends-service
spec:
selector:
app: chili-friends
ports:
- protocol: TCP
port: 80
targetPort: 3000
Now we’re up one level of abstraction. Similar to software development, a Service defines a logical resource that we can use with an address ‘chili-friends-service’ and a port 80. This service manages the load-balancing between the different containers they point to. The important parts:
- Selector: App: Chili-Friends
- In our deployment we set the selector app label to ‘chili-friends’ and the way we map this service to that deployment is by using that same label. This points our service to that deployment
- Ports
- In our deployment we set the containerPort to 3000. Here in the service, we map TCP port 80 to port 3000 on the containers. When network requests go against our service on port 80, they’ll hit port 3000 on the containers
Now we’ve got all of the internal parts of our Kubernetes application going. We’ve got our app container deployed to the cluster, and a service that points to that deployment. So far, all of these network paths are contained within the cluster, not accessible to the outside. Now we need an Ingress. An ingress acts as a gateway to the internet. It connects aspects of a request (http url, etc) to a particular service. Here’s the ingress we can use for chili friends:
apiVersion: extensions/v1beta1
kind: Ingress
metadata:
namespace: default
name: chili-friends-ingress
annotations:
Kubernetes.io/ingress.class: alb
alb.ingress.kubernetes.io/target-type: ip
alb.ingress.kubernetes.io/scheme: internet-facing
alb.ingress.kubernetes.io/certificate-arn: arn:aws:acm:us-west-2:3723842:certificate/23423-3746-345-234234-34534
alb.ingress.kubernetes.io/listen-ports: '[{"HTTP": 80}, {"HTTPS":443}]'
alb.ingress.kubernetes.io/actions.ssl-redirect: '{"Type": "redirect", "RedirectConfig": { "Protocol": "HTTPS", "Port": "443", "StatusCode": "HTTP_301"}}'
spec:
rules:
- host: www.my-chili-friends.com
http:
paths:
- path: /*
backend:
serviceName: ssl-redirect
servicePort: use-annotation
- path: /*
backend:
serviceName: chili-friends-service
servicePort: 80
There’s a fair amount going on here. Let’s start with the annotations. In AWS, Kubernetes Ingresses are implemented as Application Load Balancers. That’s what each of the annotations is for. They describe the open ports, which certificate in Amazon Certificate Manager to use, and how to redirect ports to SSL. It should be noted here that we’re delegating all SSL functions to the load balancer. The connection between the client and the ingress over the internet is encrypted via SSL, then our internal server deals with raw HTTP. This saves us the hassle of having to deal with certificate management inside of our app. Additionally, keep in mind that a DNS record must be created with a DNS provider (or for testing, using /etc/hosts or similar methods on windows) in order to actually hit this address.
Conclusion
Once all of these components are deployed to Kubernetes, we should be able to see our application. We’re now able to scale up the number of application pods with just one command. Typically as an organization grows, we might start with one application deployed to a server without a container. As the application gets more complex and more services and dependencies are added, we containerize that application so we can move it from one environment to another. As the application base and organization grows even further, we can use Kubernetes to scale the application and its dependencies out.
Authors: Alex English, Jaehyuk Lee


Leave a Reply